Page 3 of 4
Posted: Sun Apr 18, 2010 9:38 pm
by DON NOBLE
C Hanlon wrote: The Mira will stand a bit above dick height for us average size blokes.
Chris
Wow things have changed , it was metric measurement when I left Aussie about a yr ago . And I guess dick hieght is dependent on temp and the thought processes as well .

Posted: Sun Apr 18, 2010 9:42 pm
by Cookey
Chris,
With reference to "The Mira will stand a bit above dick height for us average size blokes." I take that you are stating that this most important statistic is of course based on the recorded average of the said appendage being "at rest" vs "aroused" (as per salt affected)!
P.S.
Don, you are a darling!!!
How did we ever let you out of this country????
Posted: Mon Apr 19, 2010 8:45 pm
by momec
Of course l should have expected such a comment should have aroused such a response but of course every time l think of the sight of that lake or indeed even start working on a bright red car destined for such a irresitable place, well lets just say, the height is as stated. If l could just get it lower the decrease in wind resistance and the general improvement in aerodynamics would probally allow me to run faster but alas the height is the height. l can't get her down any lower.
Chris
Posted: Tue Apr 20, 2010 2:02 pm
by Greg Watters
I'm sure if i searched the net i could find a pic that would help with the aerodynamics Chris

Posted: Tue Apr 20, 2010 8:03 pm
by ROSS BROWN
Posted: Tue Apr 20, 2010 9:06 pm
by momec
Bunnings have heat guns at about 18 bucks now, indispensable.
Chris
Posted: Thu Apr 22, 2010 7:08 pm
by ROSS BROWN
NEXT:
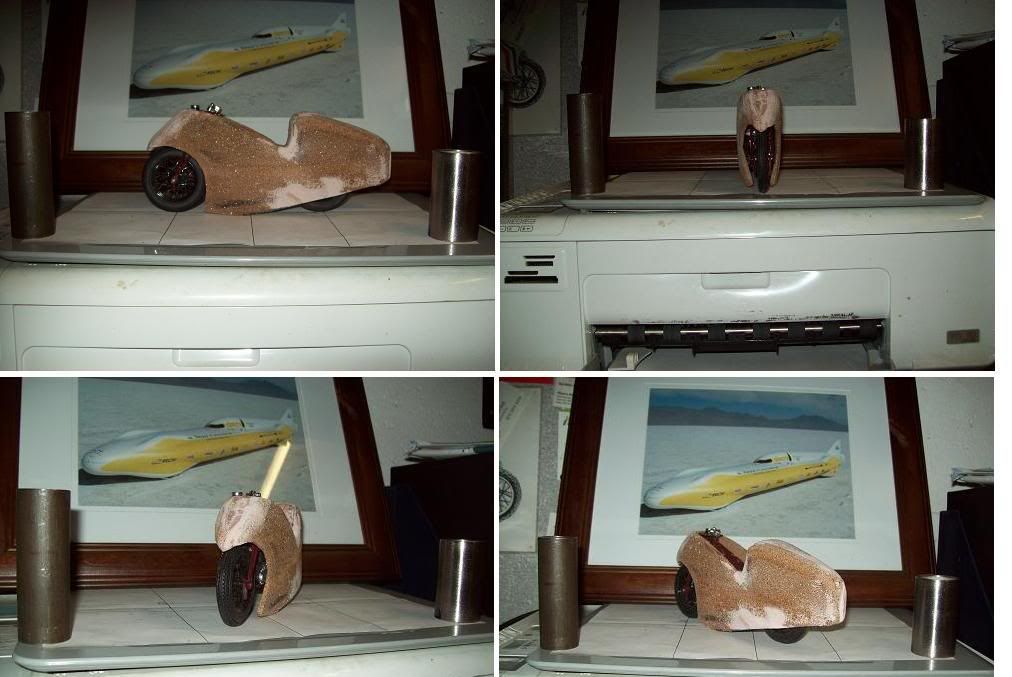
Seat & leg cut aways . this is the stage were you need to think about how many peices youd like the fairing to come apart in, if needed for ease of matainence. to create your concave curves glue pieces to the inside of your project ,this giving the distance to start cutting your internal shapes while not loosing the clean fairing line .the same goes for any outward shape.
Posted: Thu Apr 22, 2010 9:29 pm
by momec
Can l come out of the naughty corner yet?
Chris

Posted: Tue Apr 27, 2010 7:28 pm
by ROSS BROWN
YES
Young Hanlon ,come up to the front of the class & sit next to Tiny , havent had no cheek from him latley, & I,d doubt theres a cat guick enough to get his tounge .
CLASS TONIGHT.
Posted: Tue Apr 27, 2010 7:50 pm
by ROSS BROWN
ONCE
You are relatively happy with your basic shape . & bogged in the little mistakes & rounded of the corners ( remember fibreglass does not like going round right angle corners ) brush on a coat of resin only . DO NOT add fibre glass yet, as the extra weight will push your nice flat surfaces out of shape.
MAKE SURE TO USE UN WAXED RESIN !
[img][img]http://i855.photobucket.com/albums/ab115/SOLTOP10/streamliner%20925/res.jpg[/img][/img]
Once dried you can work your project with ease . add fibre glass only when your happy.
Posted: Tue Apr 27, 2010 8:48 pm
by ROSS BROWN
TINY
486 has being playing up lately but eventually spat out pictures of 484.


486 doesnt no the rules & sticks hans device on everything

Ar well, 1 step forward 5 back
Posted: Tue Apr 27, 2010 9:30 pm
by gennyshovel
Ross, ya MAD !
But, if only I'd known you were jenny craig's offsider, and had her gut vanishing cream in stock,,,,,,
Have you got the kero 486, or the pedal version ?
Tiny
Posted: Wed Apr 28, 2010 12:58 pm
by Lynchy
I think he's been sniffing the kero, must be the pedal version.
Posted: Thu Apr 29, 2010 9:32 pm
by ROSS BROWN
STEAM VERSION BOY,S.

need the cubes!
Right , time to add the glass , first layer 225 chop ,as it is easy to roll or push into the tight corners . let this layer dry as well, still keeping in mind weight will push it out of shape. then start adding other layers till desired thickness is achievied, let dry and let the sanding begin.
[/img]
don.t get to carried away with trying to get the highs and lows out .as thats what they invented flow coat for ( FLOW COAT .... waxed gelcoat easy to sand and no sticky finish. So once again when relativly happy with finish , brush on gel coat . It comes in many colors and can be polished to a finish.
Posted: Sun May 02, 2010 10:30 pm
by ROSS BROWN
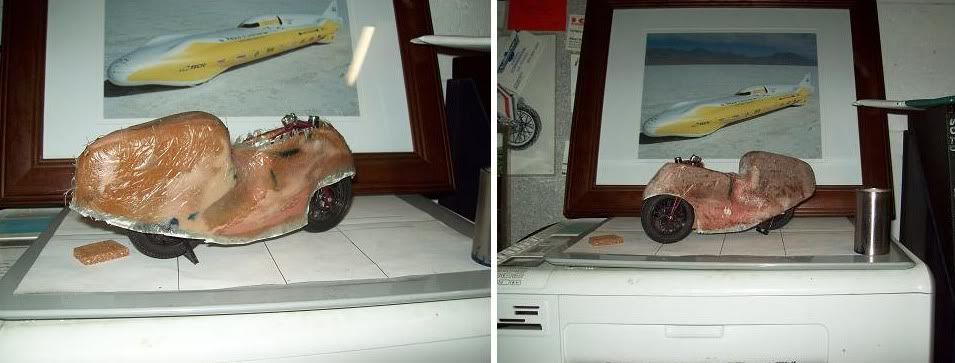
GELCOAT APPLIED !
Was originaly going to be white but had none in shop, blue was the next choice & found some way back in a shelf, opened the tin & to my surprise it hadn't gone off , so happily mixed in the hardner & brushed it on .
DIDN'T GO OFF

Then rememberd why it was way back in shelf. IT belonged with the experiment sitting next to it ( that failed
) A smart man would have thrown it in the bin , but not me ( put it back in shelf so it can get me again.) thats why you see a tinge of blue under the black.
[im
g][/img]
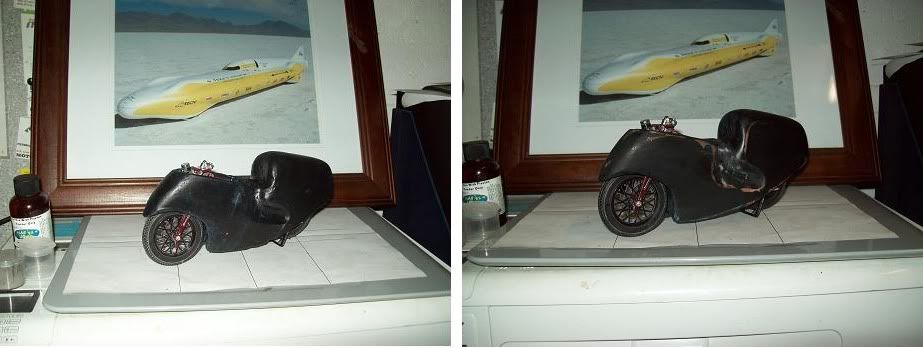
Once flow coat has dried , start blocking ,high spots will appear & low spots will dissapear ,once finished brush or spray on another coat of flow coat( use primer or big nozzle gun if spraying as flow coat is thick & can be sprayed on heavy without running )