Hi Shedymarket,
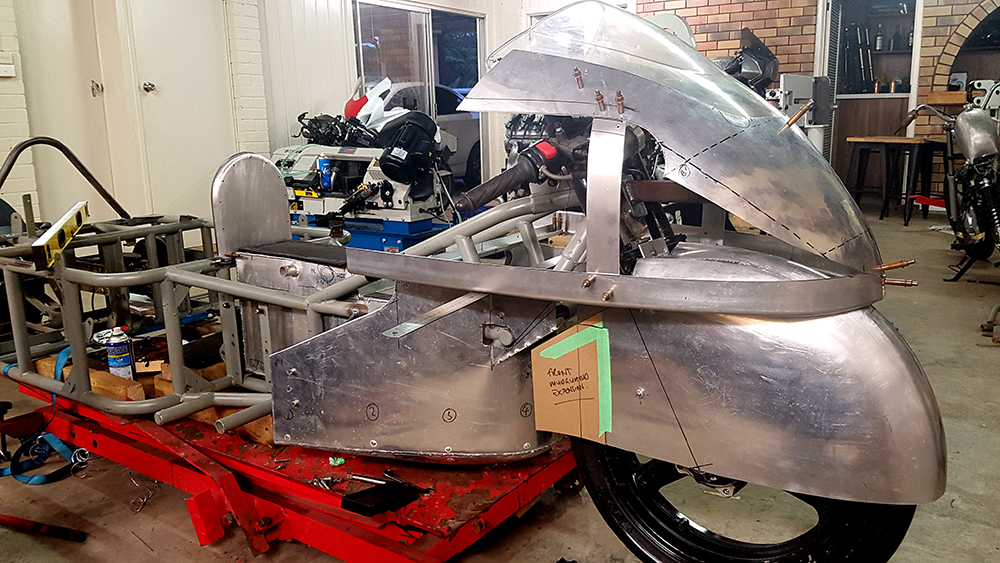
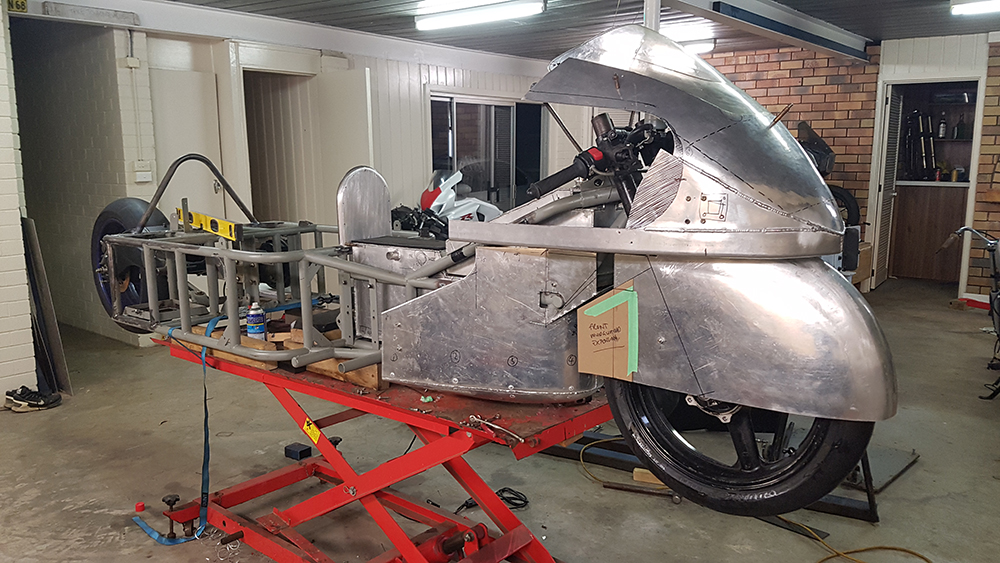
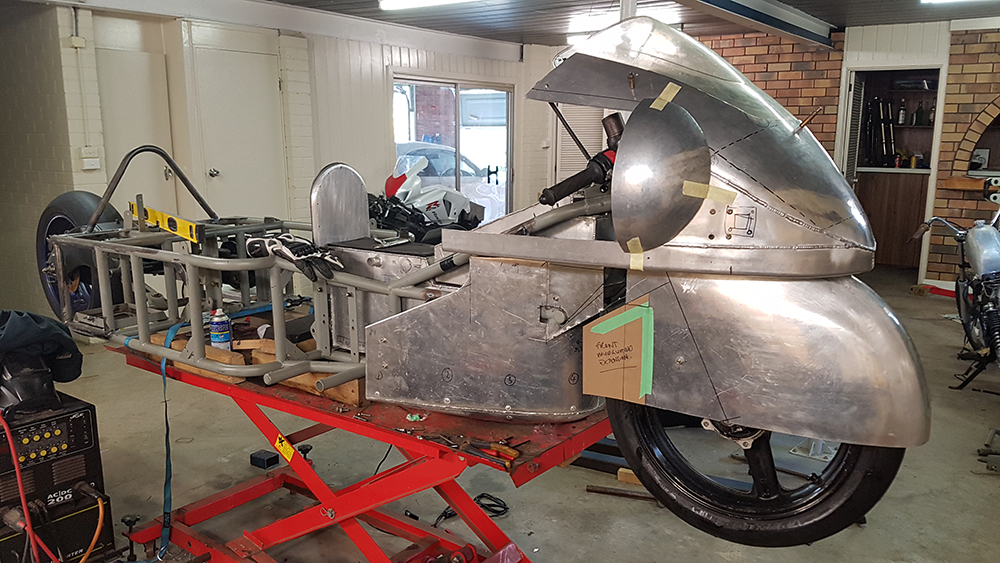
Yes, I quite enjoy reading other people's threads and actually enjoy posting up my own. My goal is to reveal my process, warts and all, so anyone who is considering going can see what's involved. For some it might seem daunting cos there is a lot of work/cost involved. For others it might seem easy, cos I'm doing it by myself (not counting all the advice I get on this forum which has been pivotal at times, and encouraging all the time) and in my shed. On that note, my current shed is by far the best I've had ... I've made five other LSR bikes in pretty shitty conditions.
I've done some annealing of aluminium in the past ... with mixed results. On a few occasions I've managed to overheat the aluminium when using the soot method and it seems to have crystallised the metal. I have access to a kiln at work and that has the advantage of being able to control the temperature precisely (365 degrees C from memory). The only issue there is having to take the parts to work every time I want to anneal it.
I was also using a borrowed OxyAccetelene set ... something I need to rectify; heat is so useful!
One thing I did find is that a light misting of soot was enough to do the job for me, and made it less likely to over do it and get the crystallising effect.
Will you be racing? Look forward to meeting you out there.
Stayt'ie, what's FB?
In the last post I said I was going to try a hybrid method, but I've actually used a method developed by Wray Schelin (his metal shaping videos are brilliant on YouTube; see the new series on making an aluminium E-Type bonnet for a great explanation on his method). He calls it a "Flexible Shape Pattern". This is how I used it ...
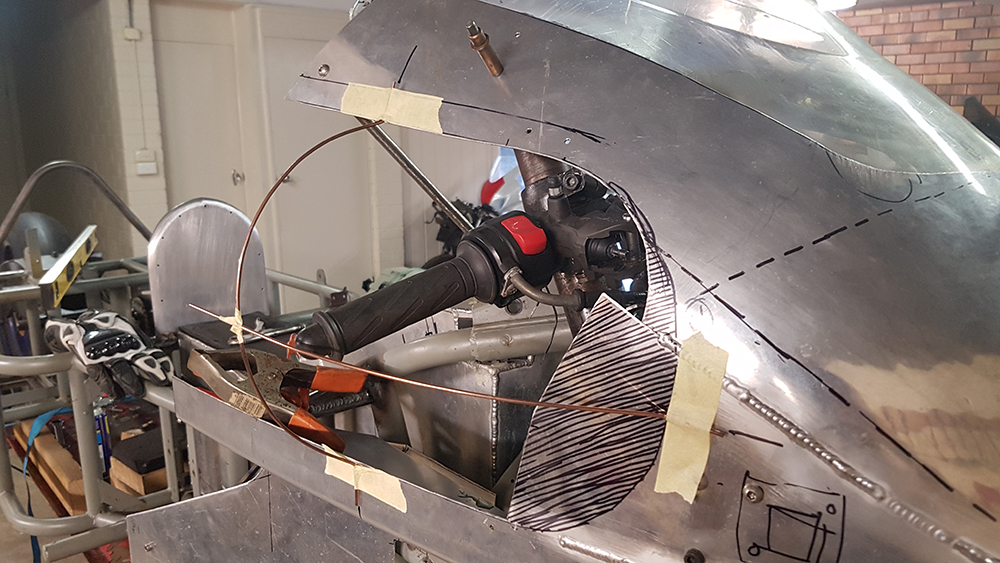
Step one, make a very simple wireform (taped together welding rod) to make sure I miss what needs to be missed (my gloved hand on the throttle to be precise):
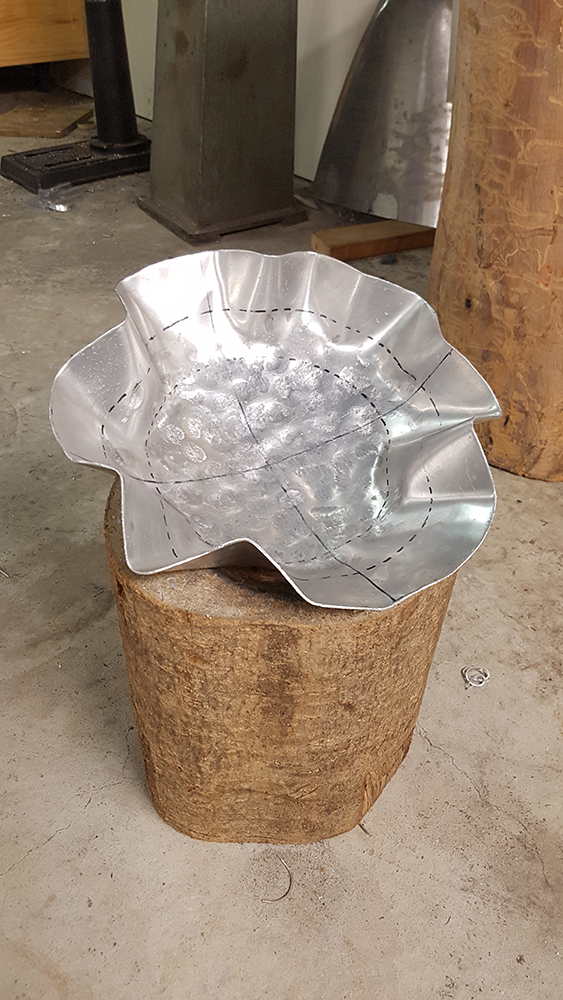
Step two, cut a half of the shape (this halfves the amount of stretching required thereby reducing the thining that happened in the last attempt ... also placing that thinning in the centre of the part; away from any intended weld seams) bend the aluminium so it captures the basic geometry in 3d:

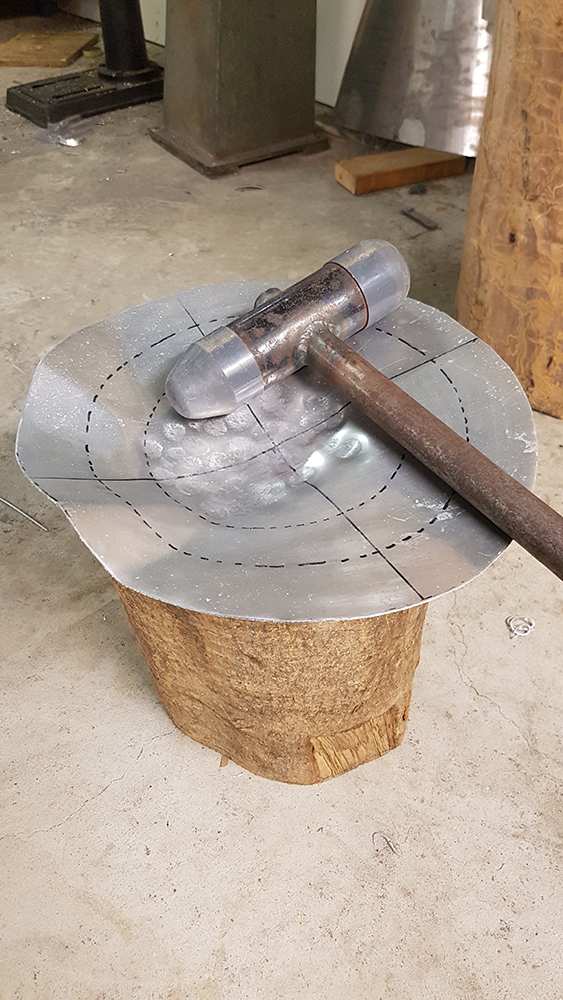
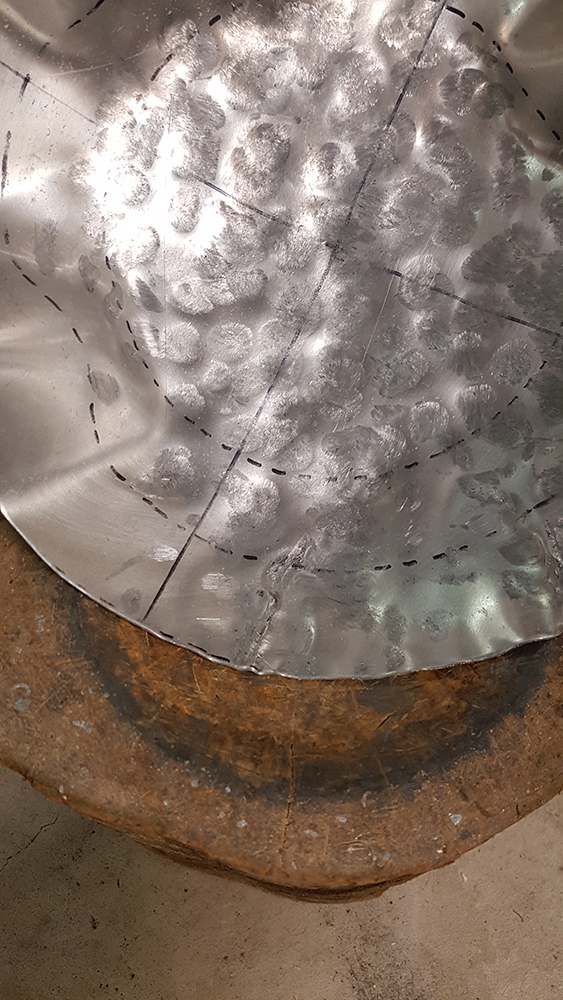
Step three, use the stump and mallet to promote some tucking at the perimeter and some stretching in the middle ... it never ceases to amaze me how horrible it looks at this point!

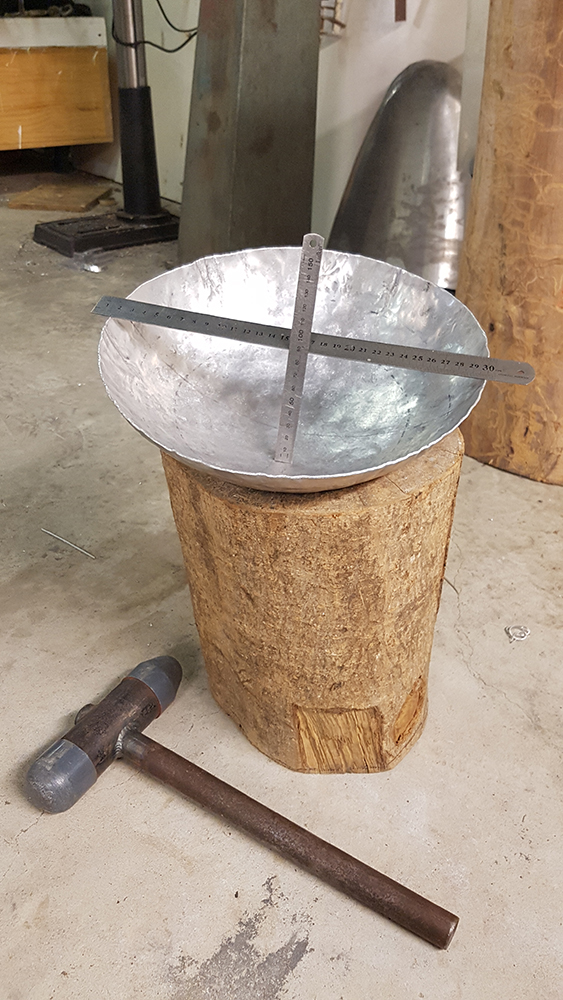
Step four, but a bit more mallet work on the sand bag and its getting smoother:
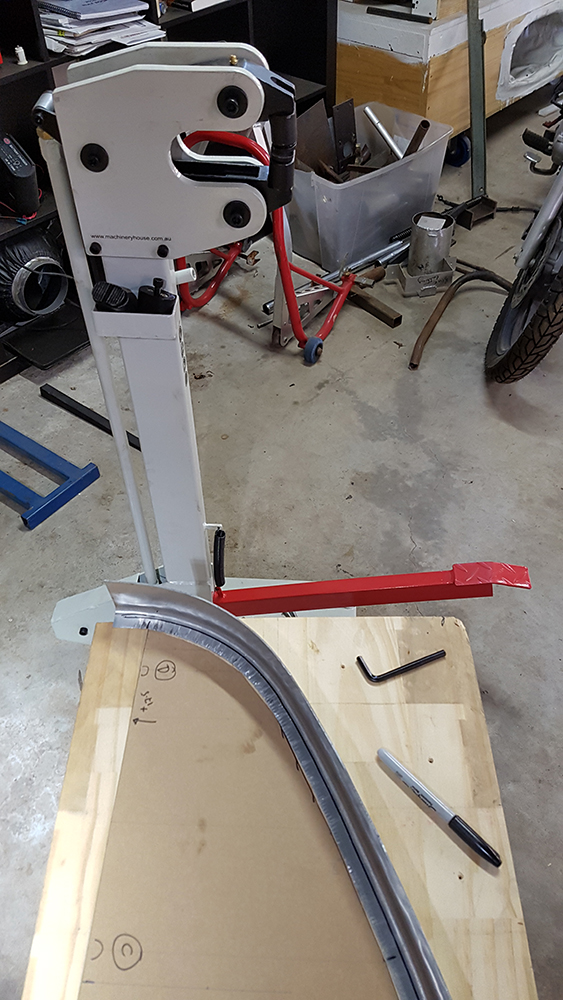
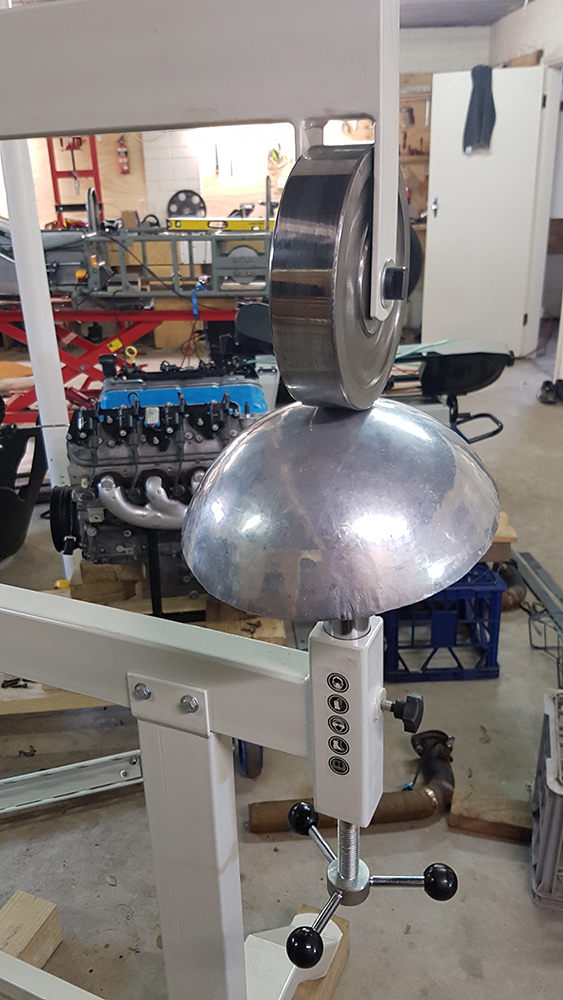
Step five, follow that with some wheeling on the English Wheel and its looking like a bought one. I also added a flange so I won't have to weld in a corner (that's not difficult, it's just hard to smooth out later):
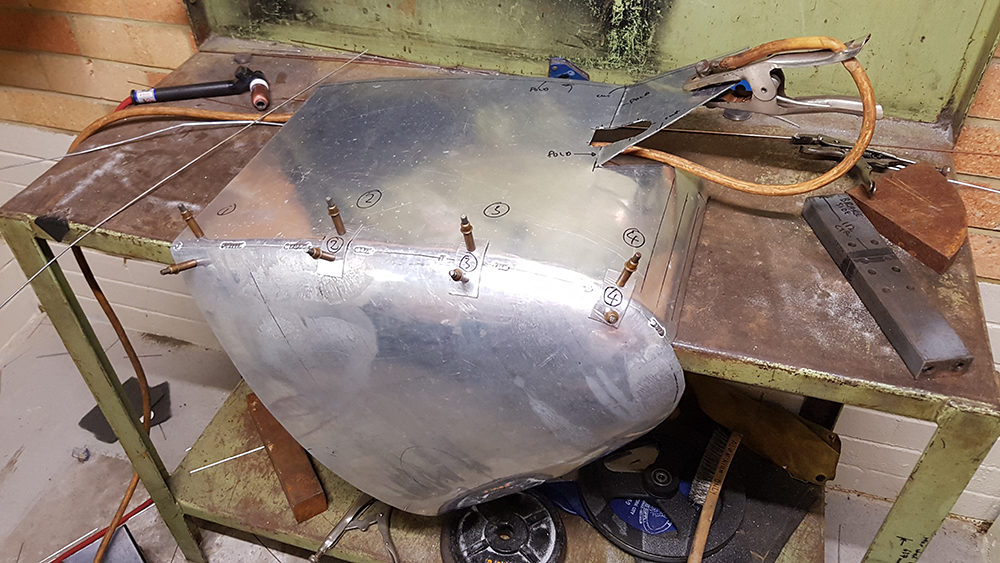
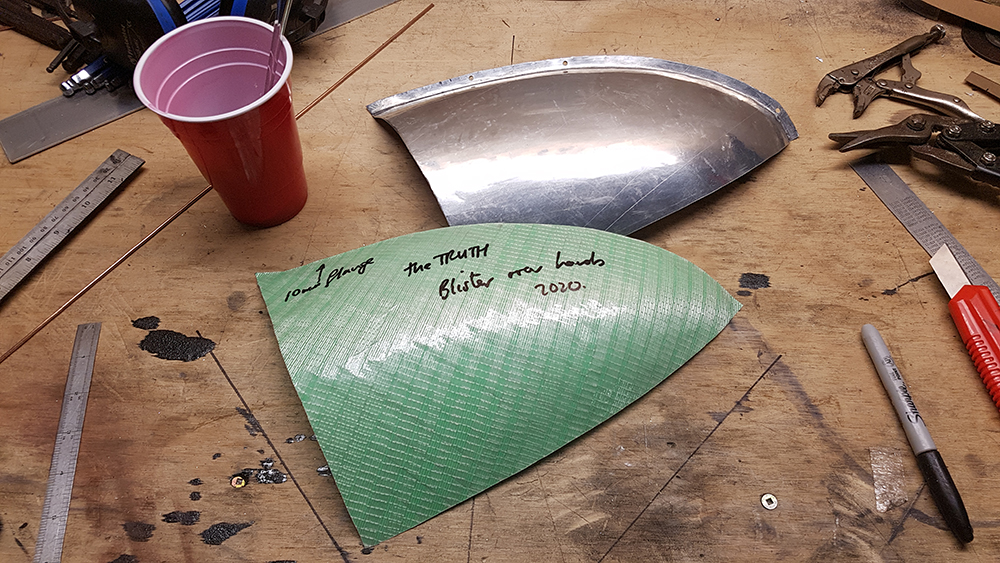
Step six, this is the cool bit ... cover the part with low tack masking tape (this green stuff is the least tacky tape that Bunnings sells) and then in the other direction with fibreglass reinforced packing tape (I got this from eBay after striking out at Officeworks):

Step seven, then peel it off and dust down the tape so it loses all its tack ... Wray uses plaster of Paris, I didn't have any so I used organic coconut flower ... I'm not sure it needs to be organic, but that's what I found in the kitchen. It also smells quite nice. The fibreglass tape doesnt stretch, so once you've peeled it off it retains all the shape information ... that's the genius of the method:
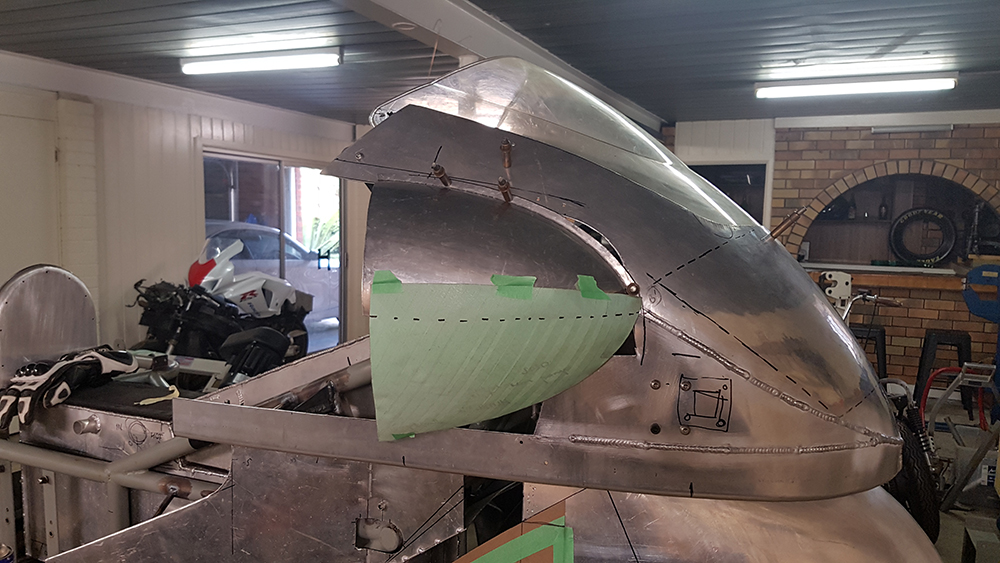
Step eight, I folded it inside out and offered it up to the bottom side of the blister ... it was going to be too big if it was symmetrical from top to bottom, which wasn't necessary, so I moved it up a bit and marked the back side so I knew how large to cut the next piece of aluminium sheet:
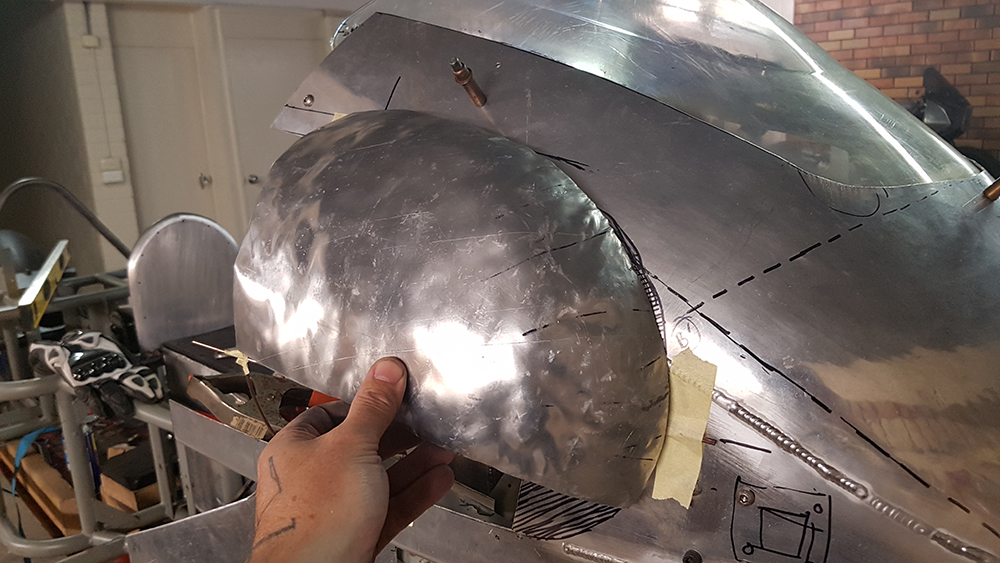
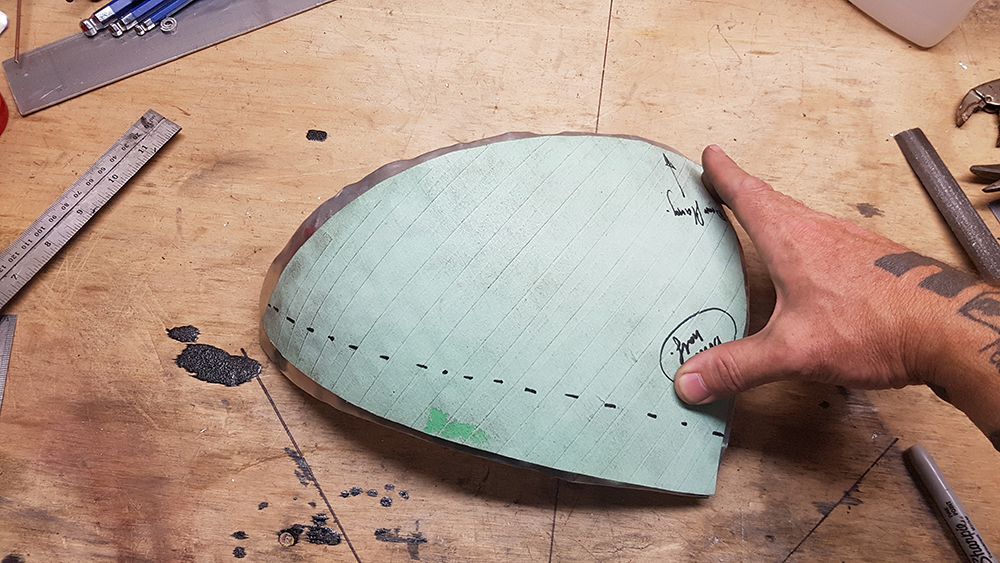
Step nine, hit the new bit of aluminium until it fills out the flexible shape pattern. If there is air between the pattern and the part you need to hit it more in that spot ... it's super intuitive and easy to read what to do. Within minutes I had it blocked out, you can see the bag of walnuts effect at the edges:
Step ten, here it is rolled, trimmed and with a flange added (which I did with a pair of modified vice grips with smoothed down jaw's) ... it all happened in a fraction of the time required to do the top part:
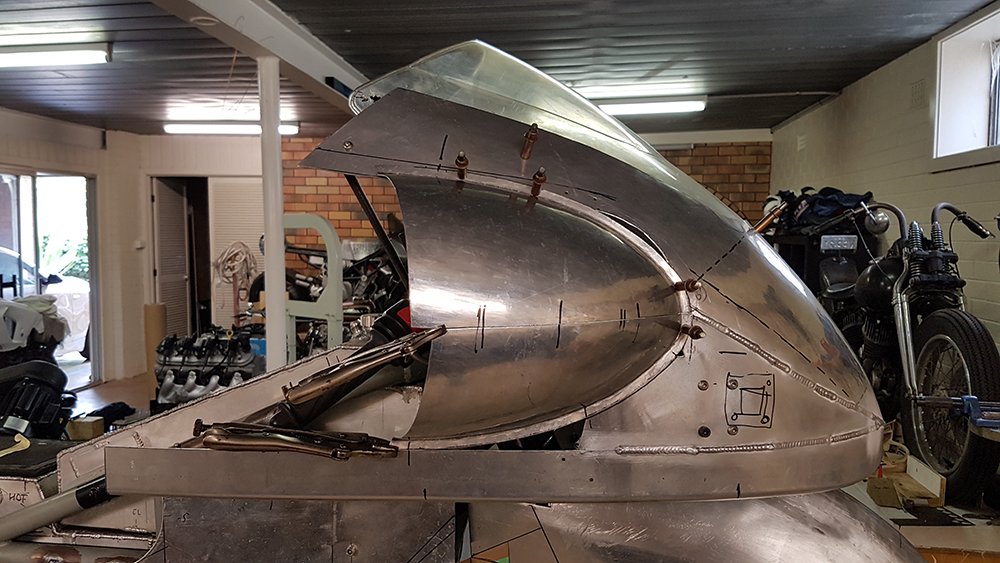
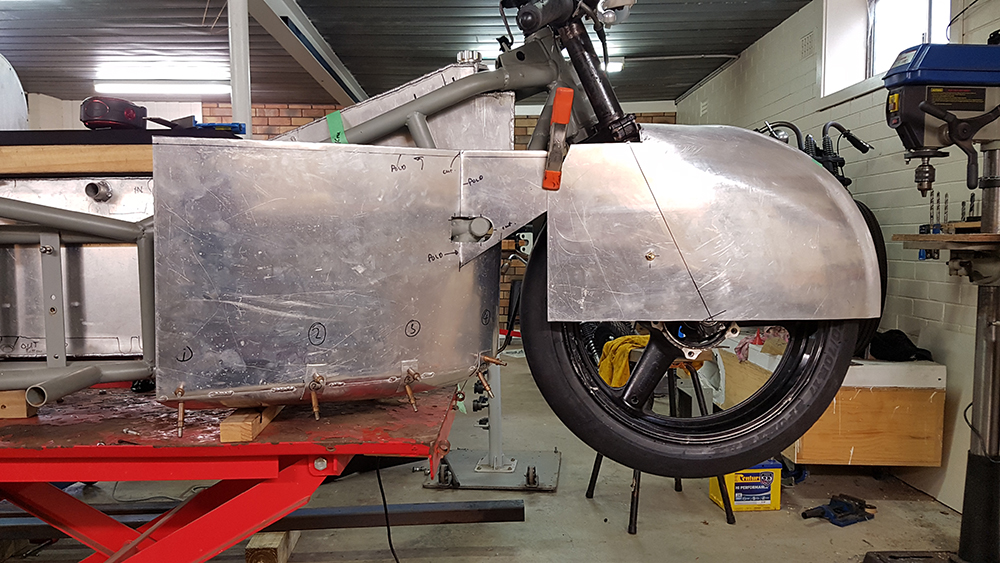
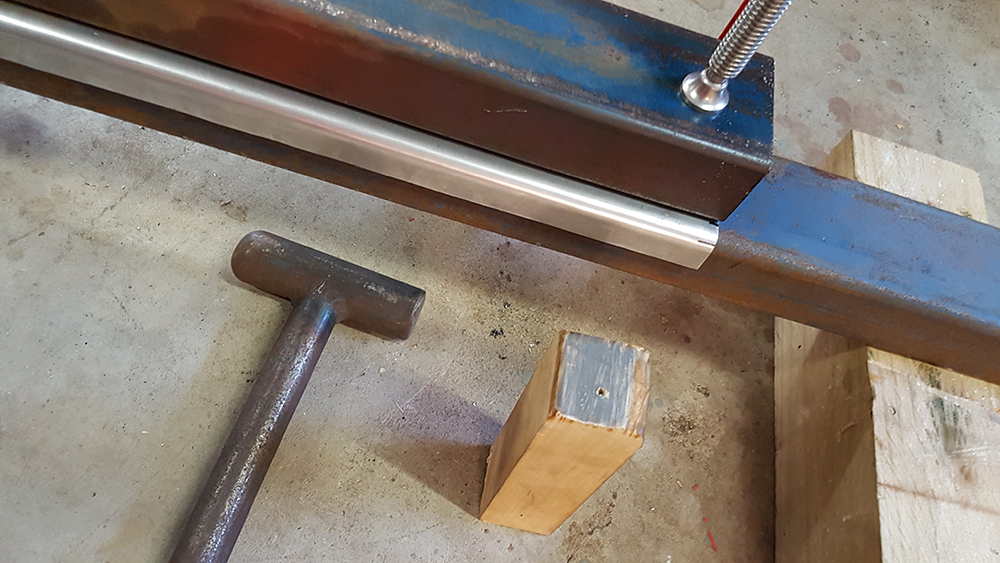
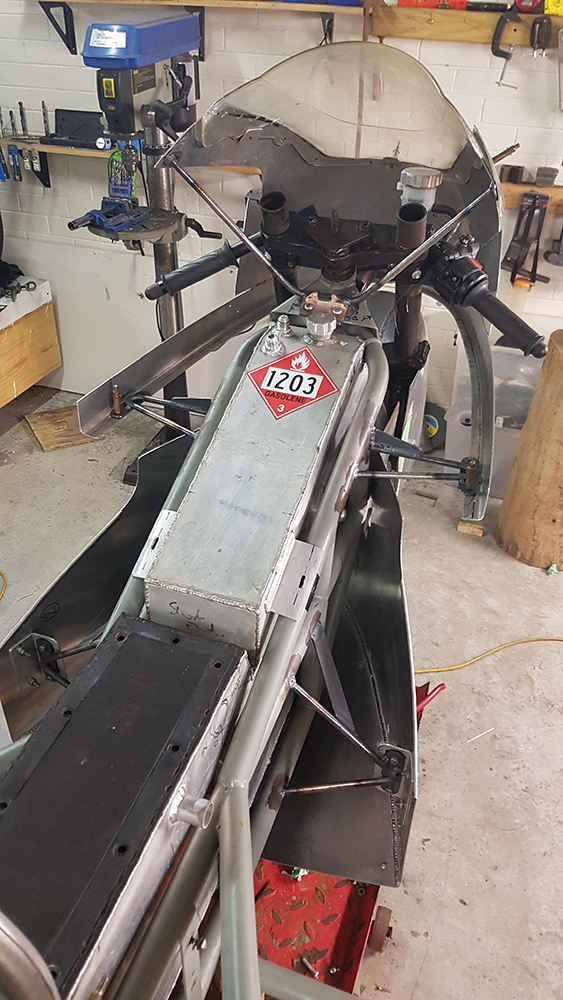
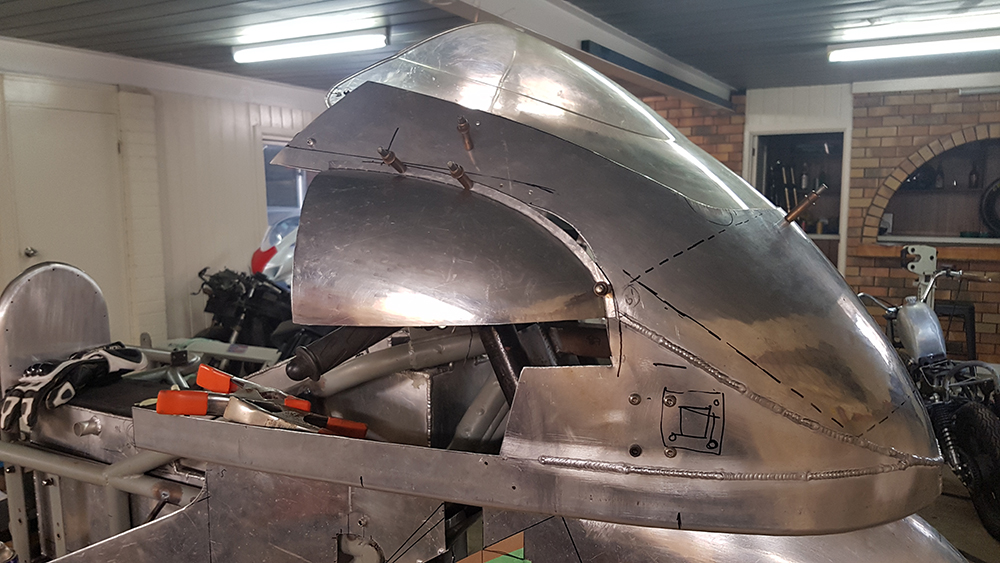
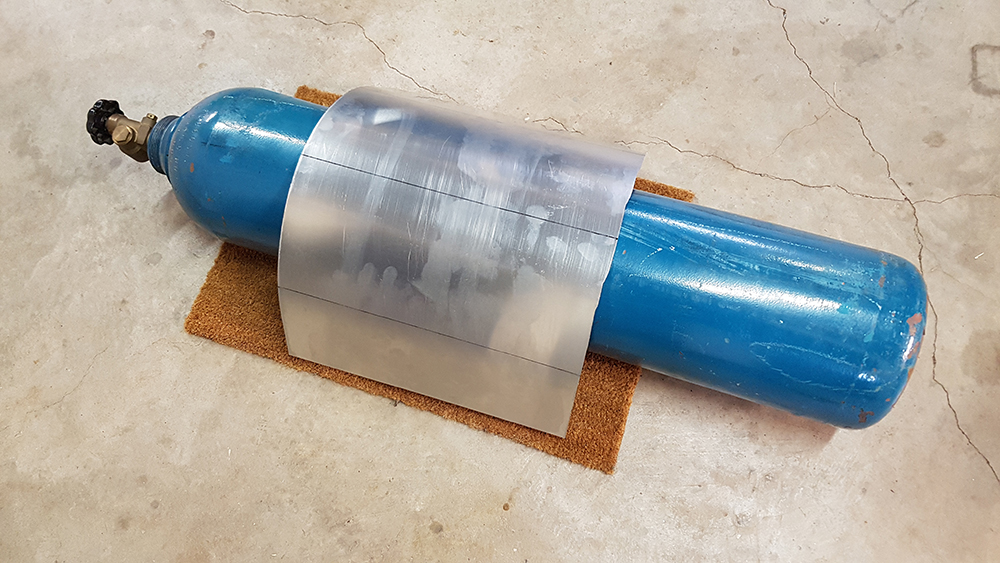
Step 11, to start with the long bit at the side I bent the sheet around the argon bottle ... it was the only thing I had close to the right curve, and everybody has to do it at least once aye?
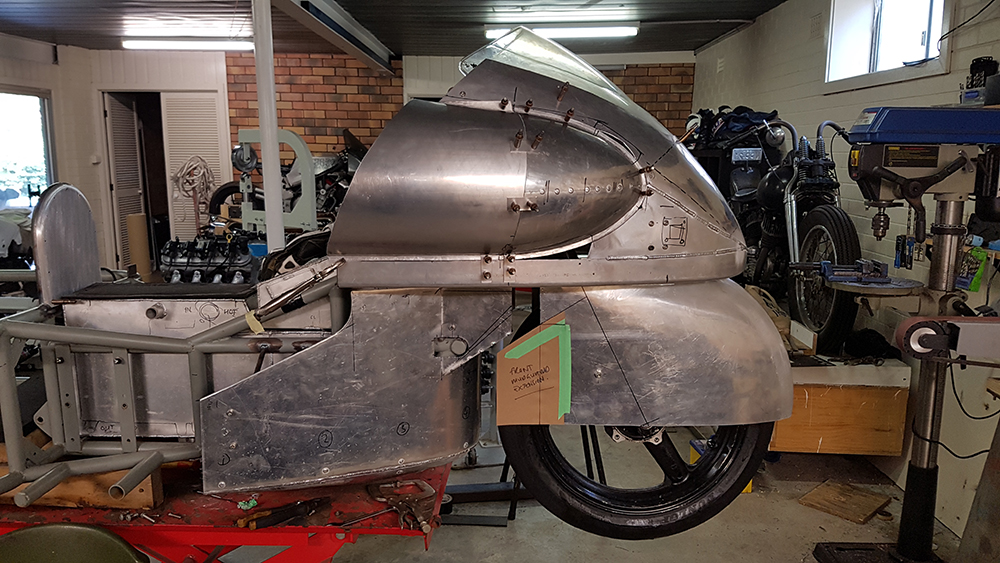
After lots of pissing around I finally got it to fit the space and the end of the asymmetrical nose of the blister (a sheet roller would have been worth its weight in gold for this part ... the English Wheel did an ok job, but I couldn't get right to the edges as it curled around so much it hit the frame of the machine):
All up it took about 8 hours spread over two days; so there's no way I could do this for a living and still get the organic coconut flower (Dave).
I recon I could probably do the second side in half that time though, using the patter made on the first side ... just reversed ... I'll let you know.
And advise or comments welcome.
Cheers!