Trevor kicked off his build a while ago but wanted to get the car going asap so advertised for some help. So, since the Jag is in Sydney and I don't get down there so often, I volunteered. Dave Leikvold also volunteered and so did some of his mates. Trevor filled out the rest of the team with his crew from his drag racing days. So we have Trevor, Phil, Richard the first, David, Richard the 2nd and myself attending build nights every Tuesday night.
So, the car. The streamliner is a very nice piece of work and will compete in the F/BFS class. F=under 3 litre BFS=BlownFuelStreamliner. The engine is a Toyota 2JZ with a turbo. Trevor hopes to do better than 300mph against a record of 325 in the US. We should do better than the Aussie record as it is currently open!!
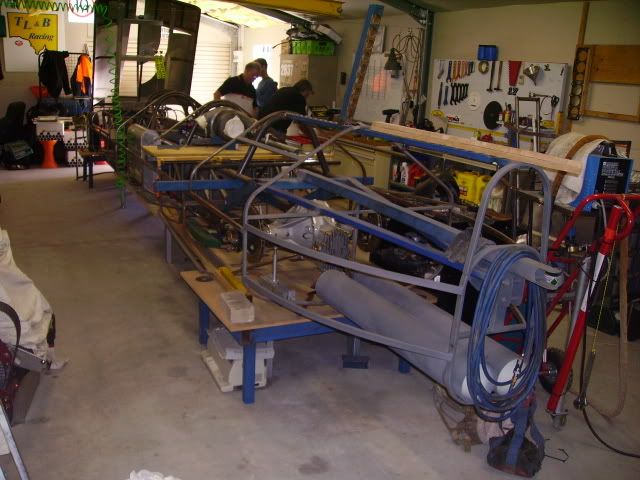
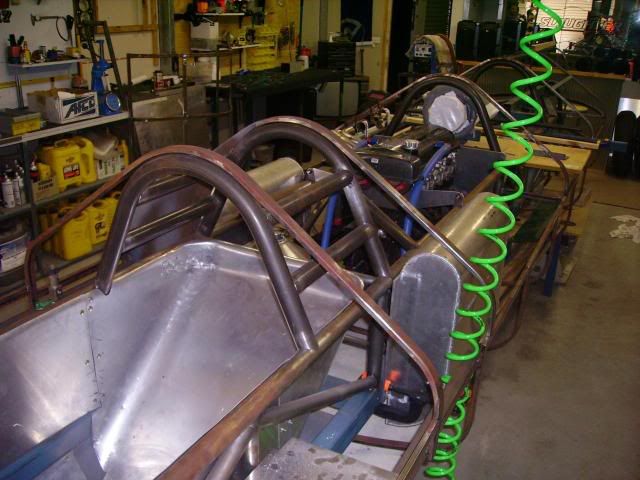
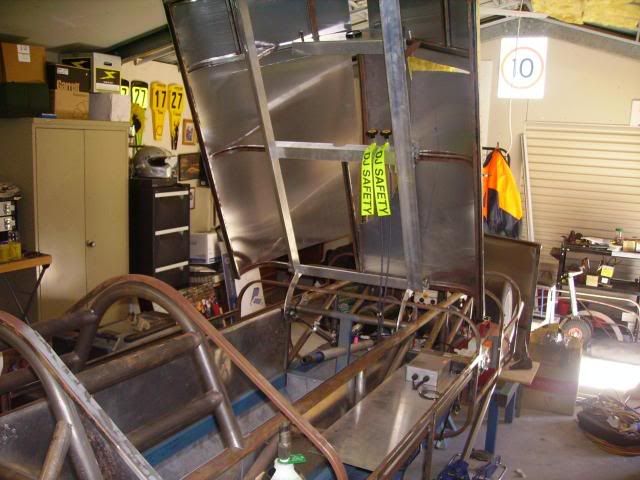
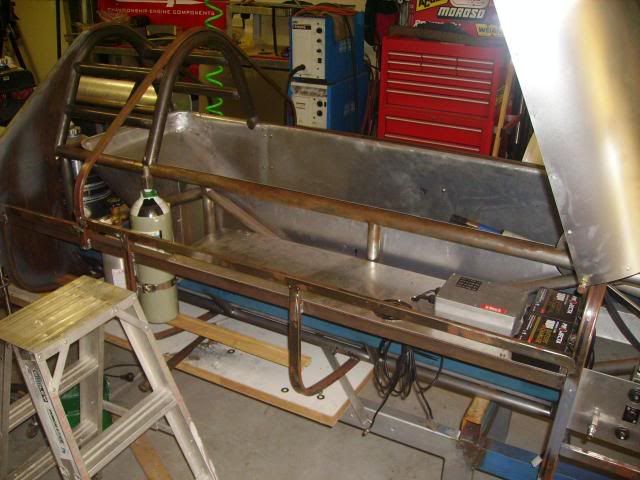
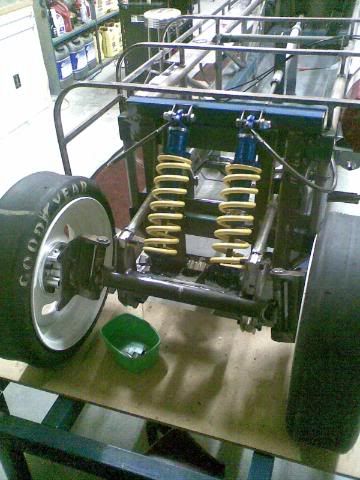
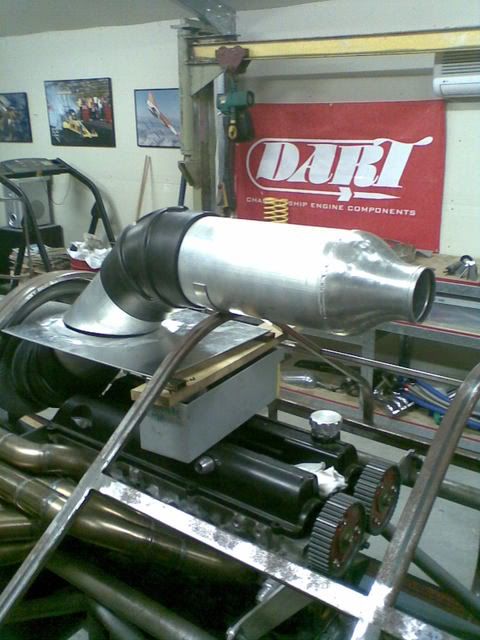
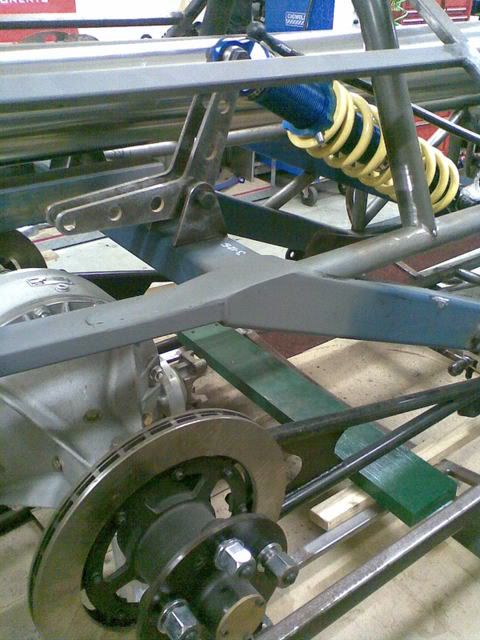
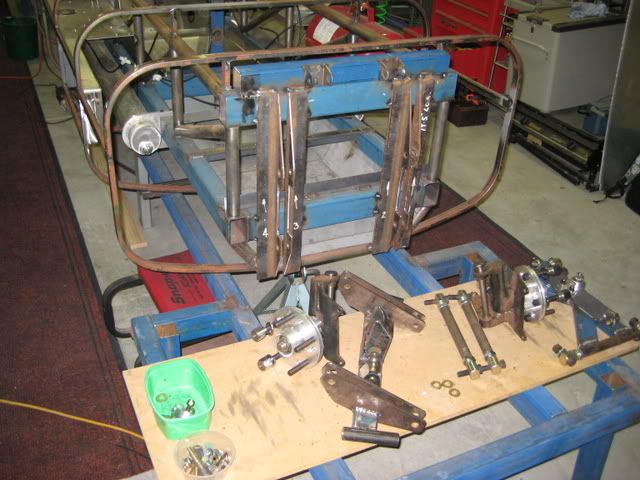
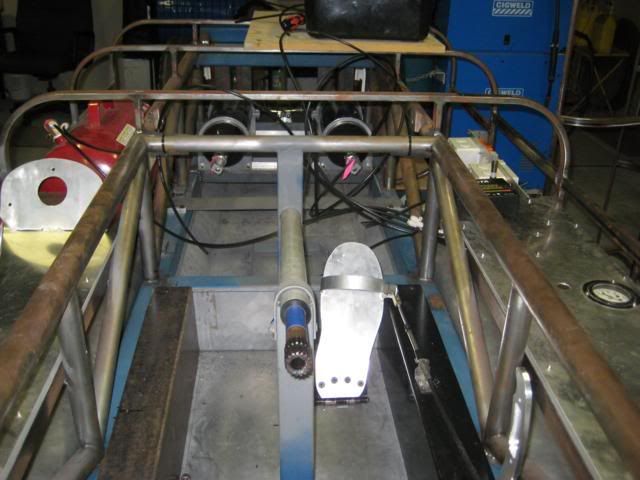
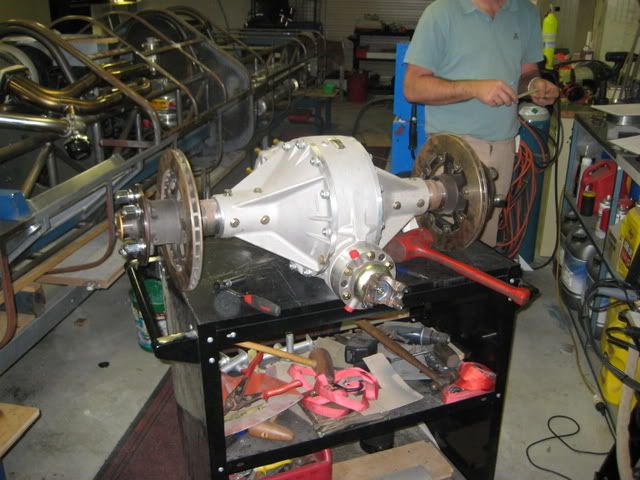
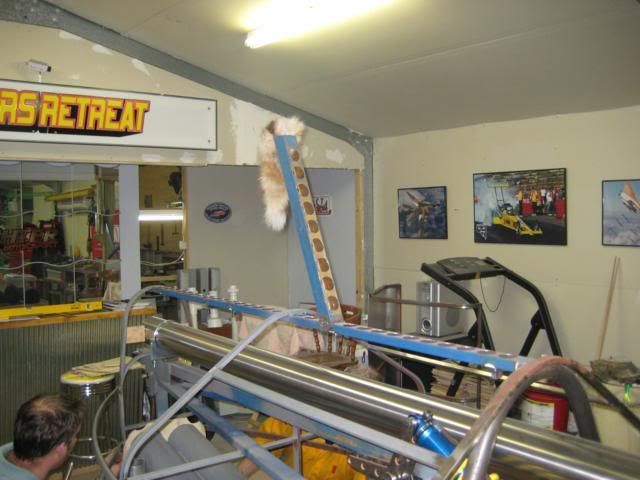
This is how it looks at the moment. In fact this was a few weeks ago and we've been madly fabricating mounts / brackets / firewalls etc since that time. You can see the twin parachute tubes at the rear under the push bar and the hole above the push bar is where the 5" exhaust will exit. The exhaust is a straight line from the outlet of the turbo. You can also see the diff:
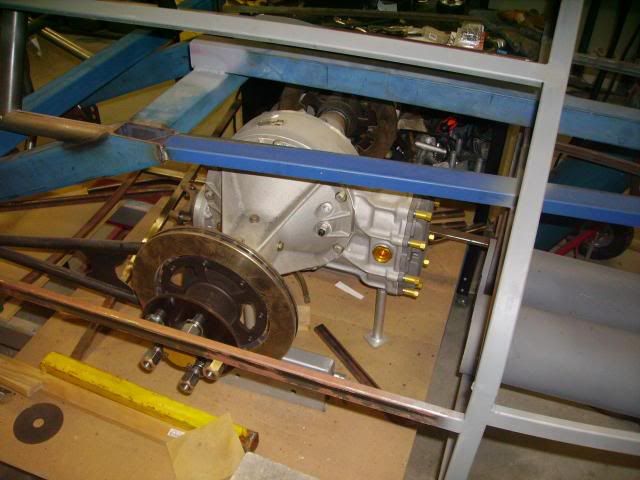
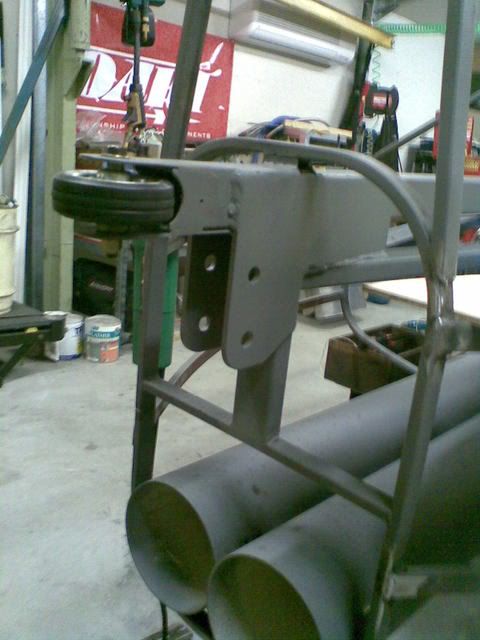
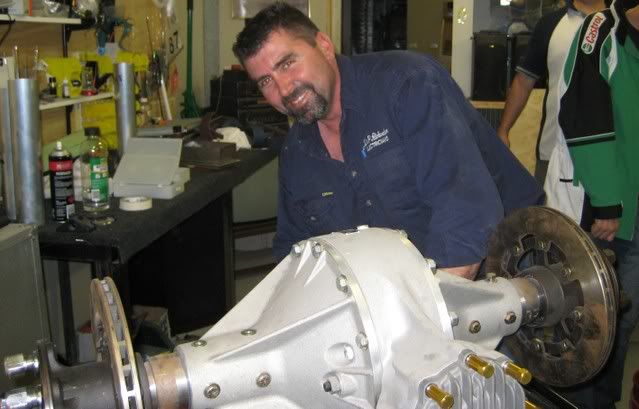
It's a Winters Quickchange with, I think, a 2.2 ratio centre. It has brakes fitted and these will only be used below 100mph with primary braking via the parachutes. The brakes will be activated by a hand lever in the cockpit.
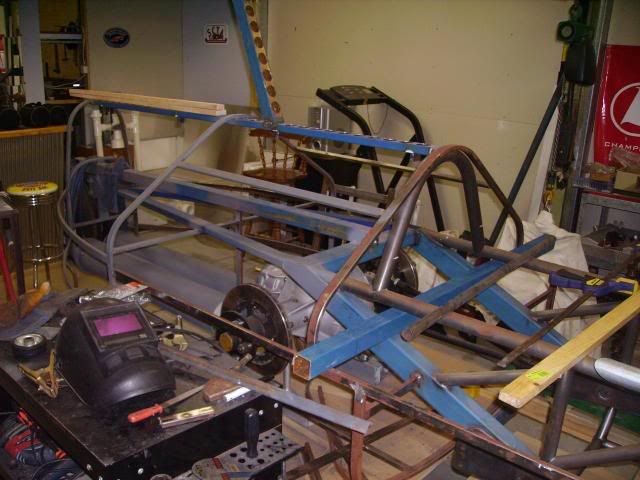
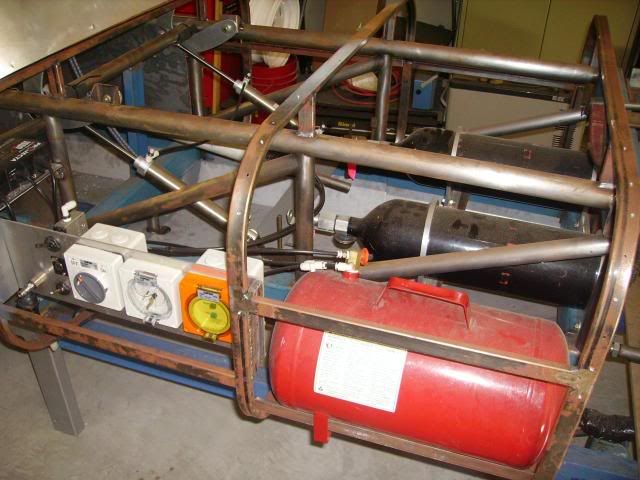
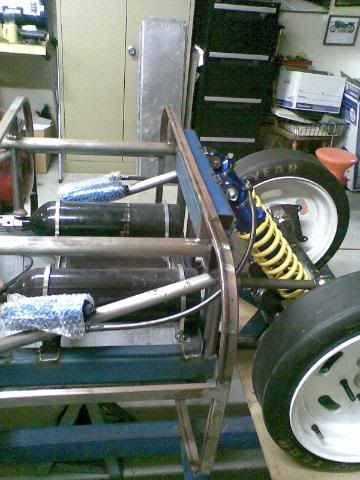
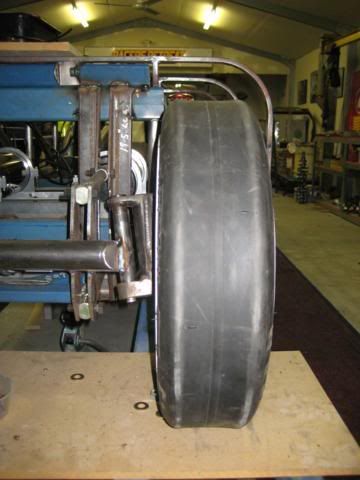
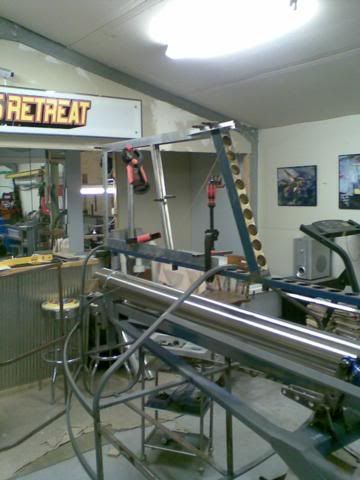
Another view of the rear where you can see the upright which will be the leading edge of a rear fin.
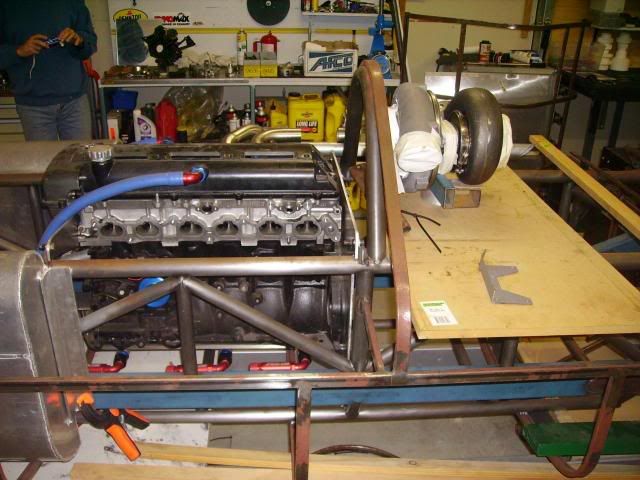
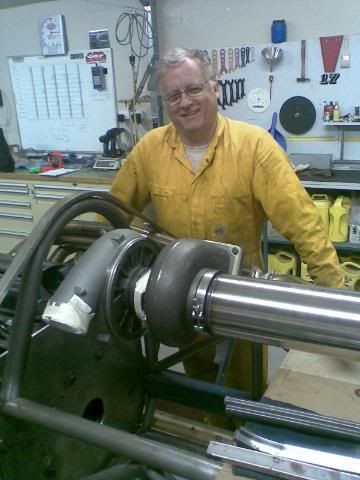
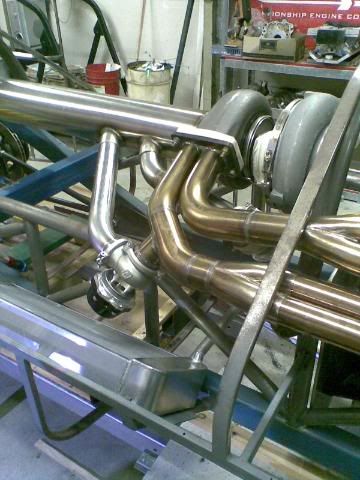
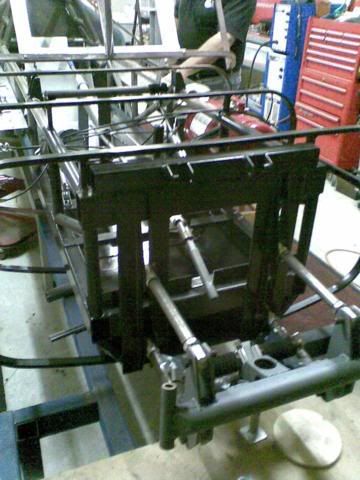
The motor. This is the intake side.
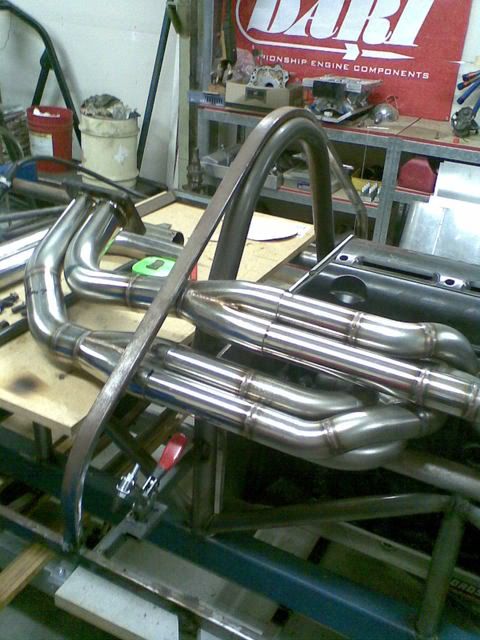
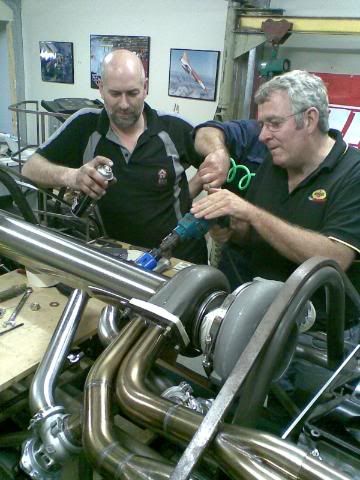
And the exhaust side - very nice exhaust work by Phil!!
I've got a bunch more photo's but will post more during the week so that I can spread out the post......
Bob Ellis should be happy to see some activity on the forum!!!!!
Lynchy